mydata <- read_csv(here("data", "file.csv"))2 Organise
There are lots of reasons to use R and R Studio for your data analysis, but reproducibility ranks high on the list. By writing code that reads, wrangles, cleans, visualises, and analyses your data, you are documenting the process that your data has been through from its raw state through to its analysed state. Reproducibility is all about someone else (or you in the future) being able to take your data and the code you have written and use it to produce exactly the same analysis values that you report in your paper or thesis.
With this goal in mind, there are a few best practices we recommend, to ensure that your code is usable in the future, irrespective of what machine it is being run on and by whom.
2.1 R projects
R really cares about where things live on your computer, even if you don’t. Humans have gotten out of the habit of thinking very hard about where they put things on their machine; the search capabilities on the modern computer are quite good and you can generally find files quite easily by searching for them.
When you are coding in R, however, you need to explicitly tell R where to find things. You can make this process much easier for yourself by always working within an RStudio Project.
When you work within an RStudio project, you can reference everything in relation to the top level of that project folder. It doesn’t matter where that project folder lives on your machine (i.e. Desktop, Documents, OneDrive, Dropbox) the code you write is always relative to your project folder. This means that you can share that whole project folder with someone else (your collaborators or supervisor), and your code won’t break.
When you start a new analysis project, create a New RStudio Project via the File tab.
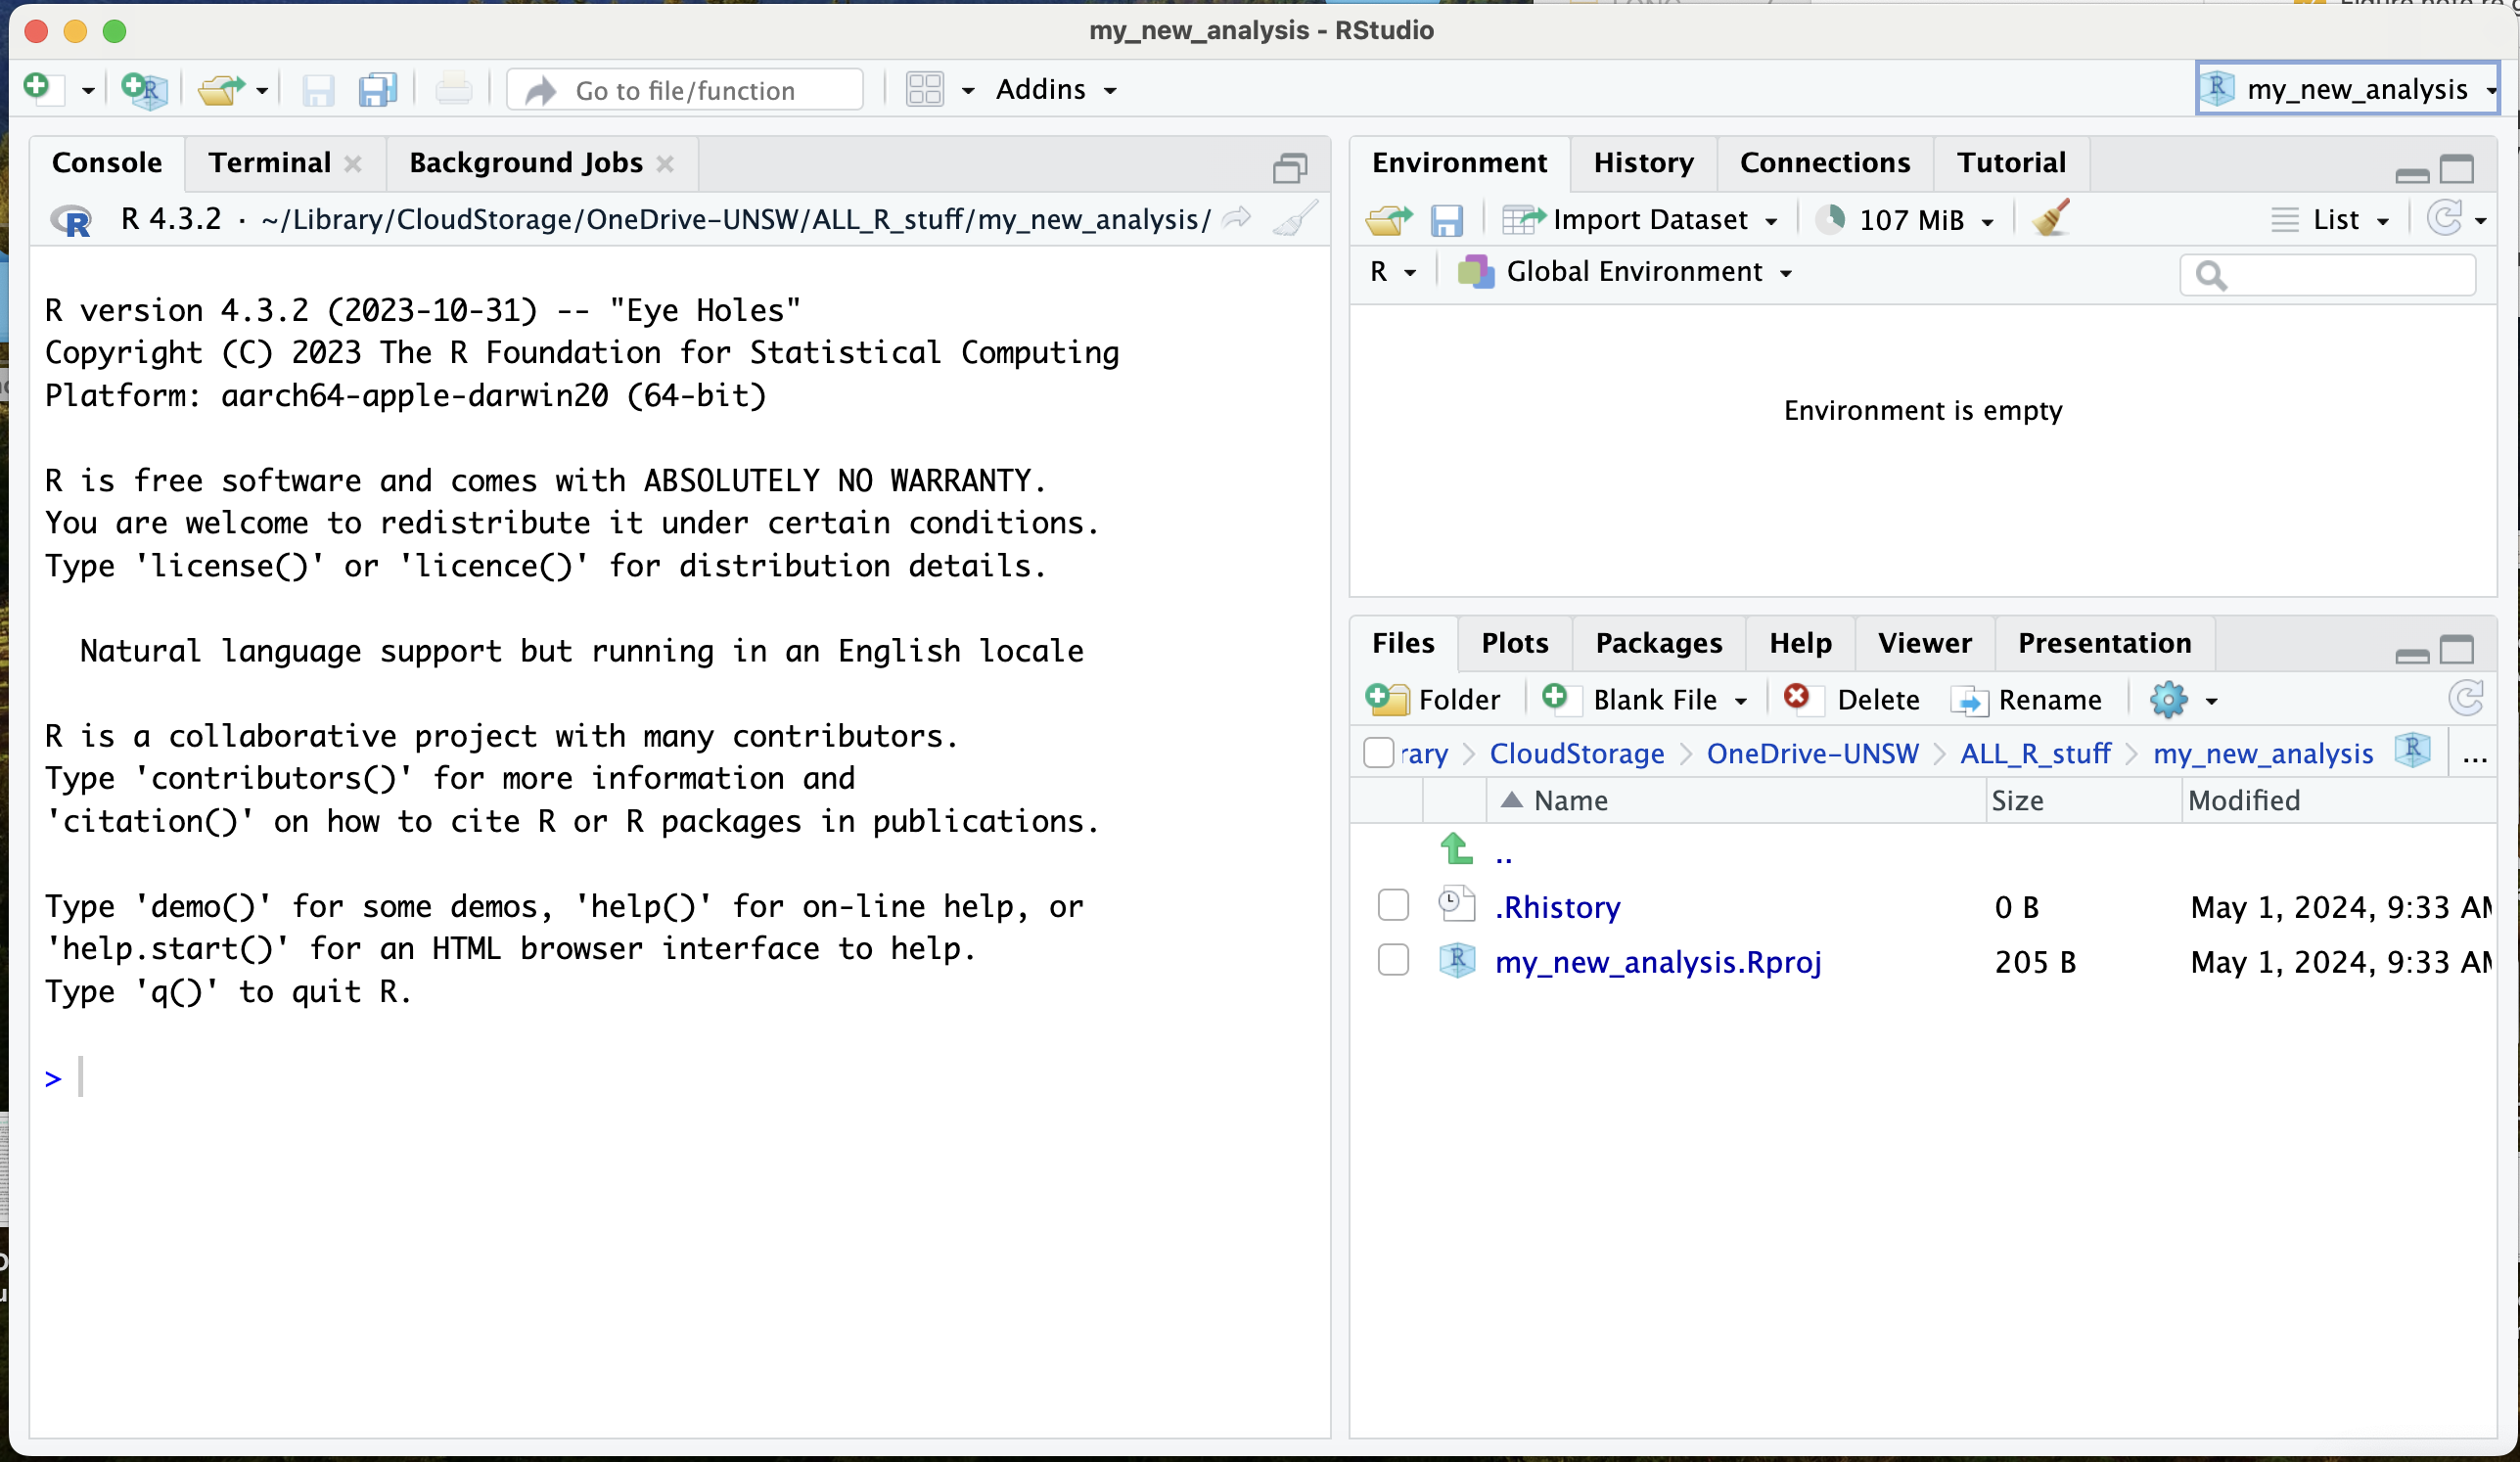
Always open RStudio by double clicking on the .RProj file in the folder on your machine. There is an icon in the top right corner of RStudio that shows you which project you are working in and makes it easy to switch between projects.
2.2 where is here?
Once you have set up a project to contain your analysis, you can avoid further file path drama by using the here() package. This package makes it super easy to refer to file paths and ensures that your code will work, even if someone else is trying to run it on a different computer.
Once you have installed the here() package, use it to tell R where you find your data like this. This code chunk loads there here() and readr() packages and then tells R to read in a csv file, located in the “data” folder, and the file is called file.csv
By referring to the location of your data using the here() package, here is no need worry about working directories, and you can be sure that your code will work on any machine.
To read more about why projects and the
here()package are useful, check out this blog by Jenny Bryan
2.3 folder structure
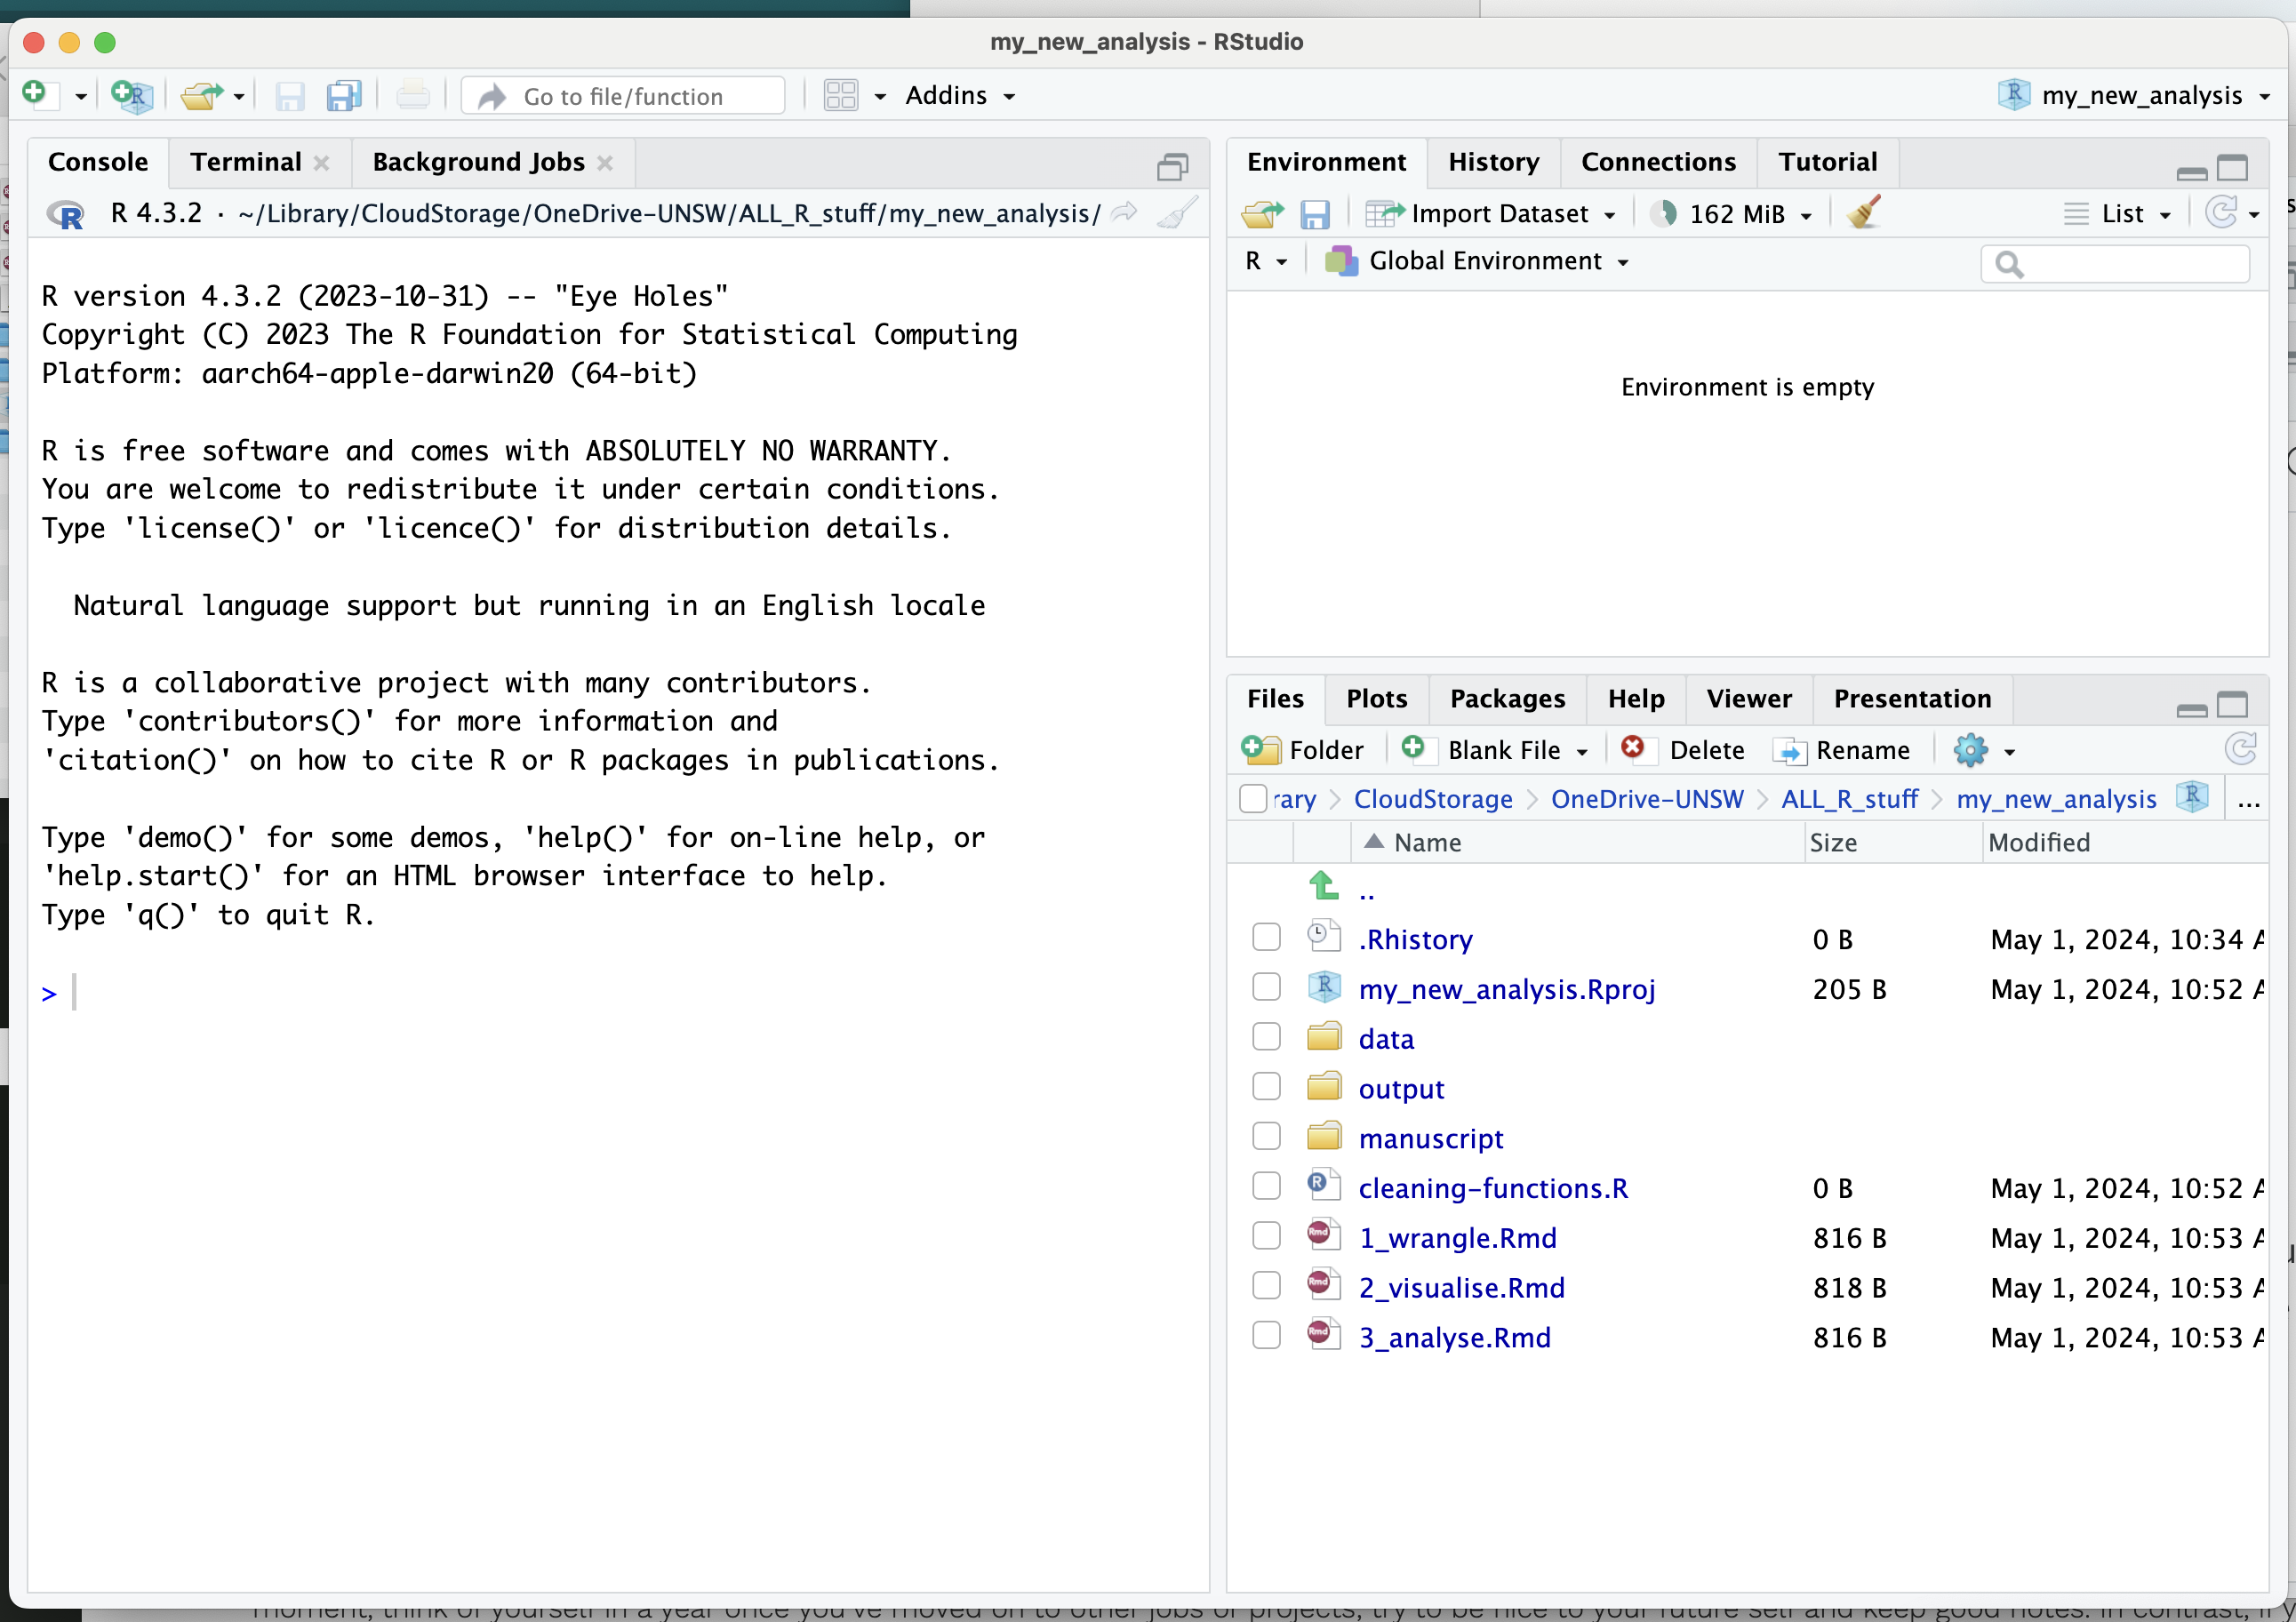
Once you have your project set up, you might like to think about imposing some structure on it. It is mostly personal preference, but many analysis projects include the following folders.
- data
- raw-data
- clean-data
- output
- figures
- tables
- manuscript
You always want to keep your raw data untouched and separate from any data that you write back to your machine after your data cleaning process, so a raw-data subfolder can be useful.
In addition, you might want to organise your figures and tables into an output folder and put any writing that you are doing in the manuscripts folder.
If you want to write a manuscript (or maybe your whole thesis!) using RMarkdown, check out the
papaja(Preparing APA Journal Articles) package
Usually the scripts (or R Markdown) documents that you write your code in, live in the top level of your project file. In RStudio, your project structure might look something like this.
2.4 naming things
When naming things in your analysis folder, it is a good idea to think about your future self. In all likelihood, when you come back to this analysis in a few months time, you will have no recollection how it actually worked, but you can leave yourself some breadcrumbs by being a bit intentional about naming things.
Your file names should be meaningful and orderly. The name of each file should tell the new user (or future you) what is in the file and where it goes in the process.
- cleaning-functions.R
- 1_wrangle.Rmd
- 2_visualise.Rmd
- 3_analyse.Rmd
In this project, I can tell by glancing at the file names that I have a script (.R) that contains functions and three R Markdown files that contain each stage of the analysis.
Sticking with lower case is a good idea; avoid special characters and use - or _ to fill any gaps.
Find more useful naming tips in the Tidyverse Style guide.
2.5 documenting things
2.5.1 README
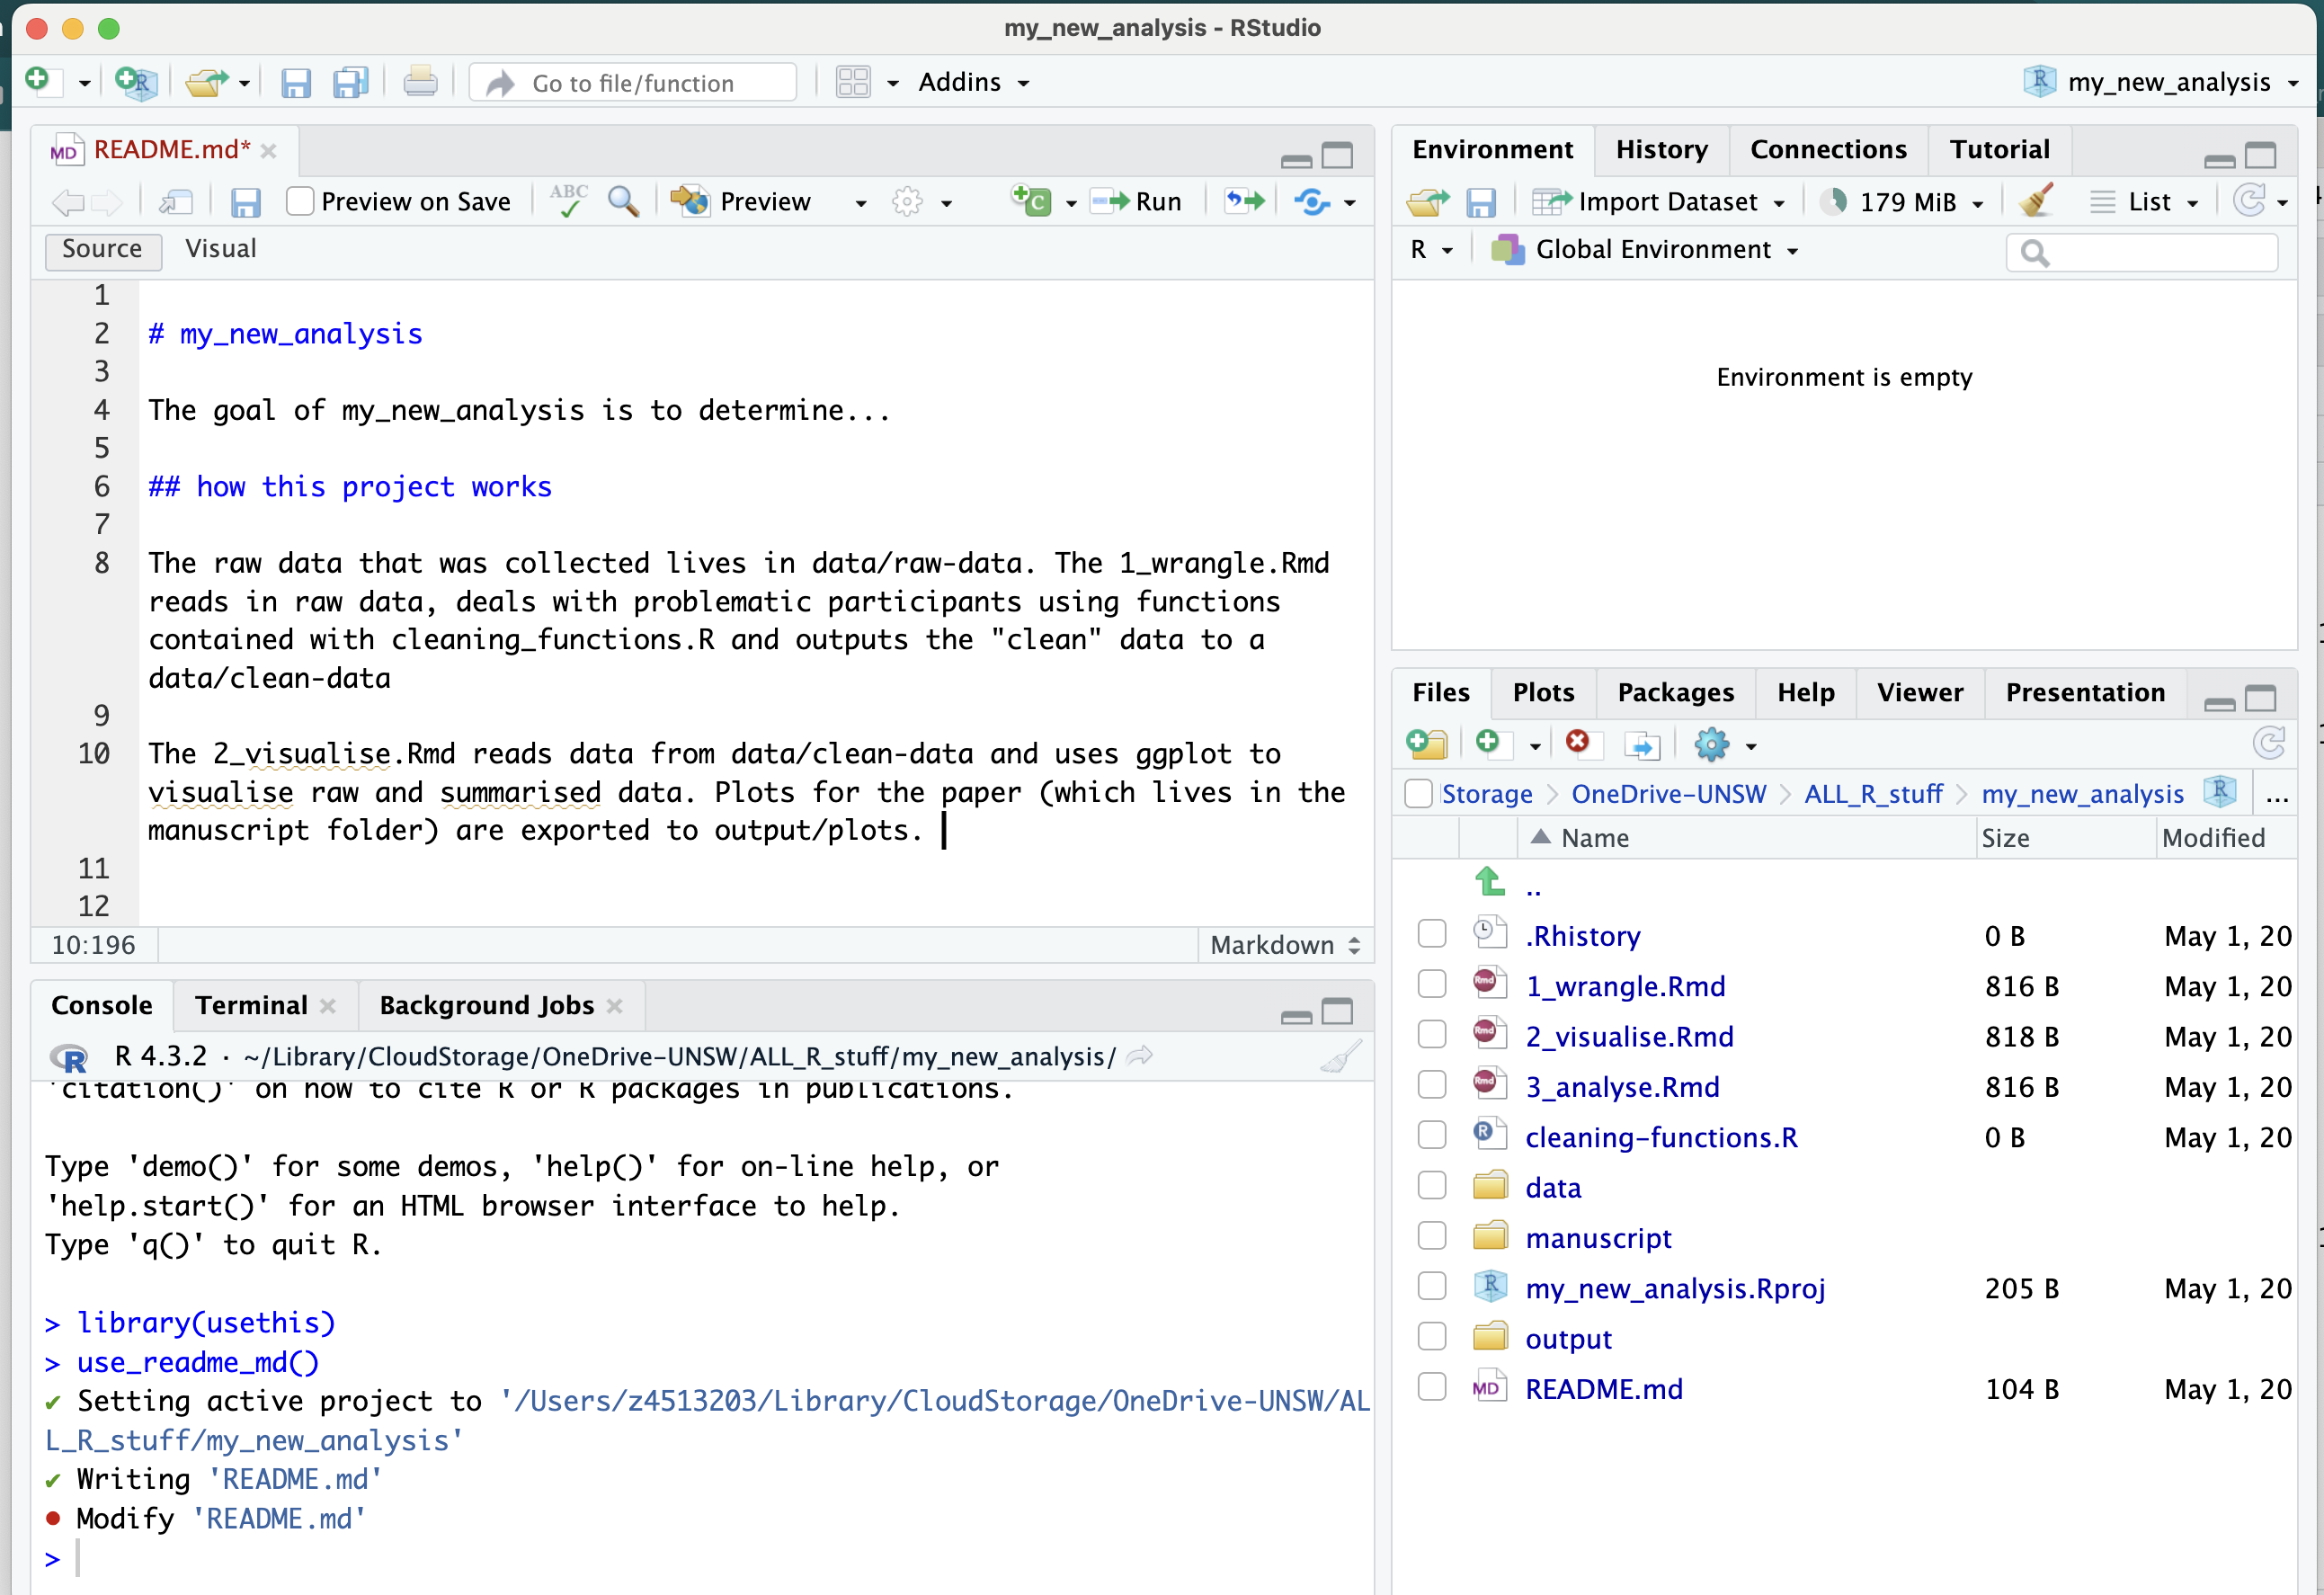
In addition to the breadcrumbs that our file names leave, it is also a good idea to leave explicit notes to your future self (or someone else) in a README.md file. This is a simple text file that contains instructions for how the user should engage with your project.
Create a new Markdown file and save it as README.md
Use it to leave yourself instructions that look a bit like this.
2.5.2 R Markdown
In addition to leaving your future self explicit notes about how to engage with the project generally in a README document, it is also best practice to document your code in a way that makes it really clear what the code is doing and why. For this reason, we recommend using R Markdown documents (rather than R scripts) for your analysis.
R Markdown is a handy file format that allows you to intersperse chunks of code with notes. This kind of document makes it easy to write explanations, interpretations, and thoughts for your future self as you code. This kind of documentation makes it much more likely to be able to make sense of what you have done and why, when you come back to your analysis in a few months time.
R Markdown documents can also be “knitted” into html, pdf, or word documents, allowing you to share your analysis (and associated thoughts) with collaborators, even if they don’t know R.
To get up to speed on R Markdown and how to use it, check out RLadiesSydney #RYouWithMe MarkyMark module