9 Contributing Guidelines
This resource is created in mind so that the community that uses it, can also contribute to it. We hope this mindset will encourage the resource to grow and stay up-to-date for R learners.
Importantly, all skill levels are welcome to contribute, even if you think your skills are not up to scratch - this is what this guide is for! There is also a way for you to contribute if code/git/Quarto is not your cup of tea.
9.0.1 Hello Quarto!
This book is built by Quarto which is an open source, cross-language publishing system that allows users to build beautiful things from blogs, to websites and books!
You can learn more about the capabilities of Quarto in this talk by Mine Çetinkaya-Rundel & Julia Stewart Lowndes at posit::conf(2023)
9.0.1.1 Install Quarto
First things first, let’s make sure we have the latest version of Quarto installed using these instructions
9.0.2 GitHub Workflow
Next, we need to talk about the Git/GitHub part of the workflow. Git is a version control system. It that tracks changes in our code that generated this book and helps us coordinate our collaborative edits.
Git monitors the changes in a project directory a.k.a repository or “repo”. There are two types of repositories:
Local repository: This is a project directory that exists locally in your computer than git is actively watching over.
Remote repository: This is a synced copy of your local repo. The remote repo for this book lives on GitHub. GitHub centralises our collaborative efforts. It provides a platform for the community to make a local copy of the book, create changes and introduce them back to the remote repository. GitHub also acts as the hosting service for the book itself which is also a big bonus for us.
A great resource on GitHub setup and collaboration is Happy Git with R, which includes fantastic background philosophy as well as tips for set-up, workflows, and collaboration.
9.0.2.1 Sign up to GitHub
Start by getting yourself an account at GitHub by signing up here
9.0.2.2 Install git
Follow these instructions from “Happy Git with R” to install git to your computer. There are specific instructions for different operating systems.
9.0.2.3 Install a git client
Traditionally, git has been used in the shell terminal. This is the ‘back-end’ of the computer and allows you to interact with your computer using code. This means that you have to type out commands to tell git what to do. This approach can become a little overwhelming when you are starting out.
Instead, we suggest using a git client like Github Desktop, however it is limited to only to Windows and Mac. If you use Linux, GitKraken is also a great alternative. There are many git clients to choose from. Once you start to get the hang on things, all of these clients are much of the same and its a matter of personal preference.
If you are an RStudio user, there is a built-in git tab to the interface, its features are more simplified than the previously mentioned clients but does the basic commands that we will talk about next.
Once you have downloaded a client, follow it’s instructions to login and connect your Github account to the client.
For the rest of the chapter, we will focus on using Github Desktop, but the main git commands should translate to whichever client you are using.
9.0.3 The Contributor’s workflow
We will work on forks (independent copies of the book) so as to not overwrite each other’s work and have a systematic way in introducing new contributions to the book. Coordinating collaborative changes on the same project is what GitHub does best.
The main branch is currently the most recent approved version of the book - this is displayed at https://unsw-edu-au.github.io/r4psych/
The contributing workflow looks like this:
You fork the most recent version from
mainYou make your edits, you commit regularly, you push regularly to the remote (github.com)
When you are happy with your changes, you will create a pull request for your contribution and one of the core maintainers will review it. Edits may be requested or one of the maintainers will make the changes after having a conversation with you.
Once everything and everyone is happy and dandy with the final changes, your changes will be approved and merged into main. When this happens, your branch is deleted on the remote and you will also delete it locally.
Now let’s walk through this workflow step by step
The following sections assumes you’ve completed the initial set-up of installing git and a git client
9.0.3.1 Fork: Create an independent copy of the book
Now that we have all the installation out of the way, we can get started!
The best way to contribute to the book is to create an independent copy that lives in your Github account. This process is called creating a fork and it allows you to make your contributions without it affecting the approved version of the book.
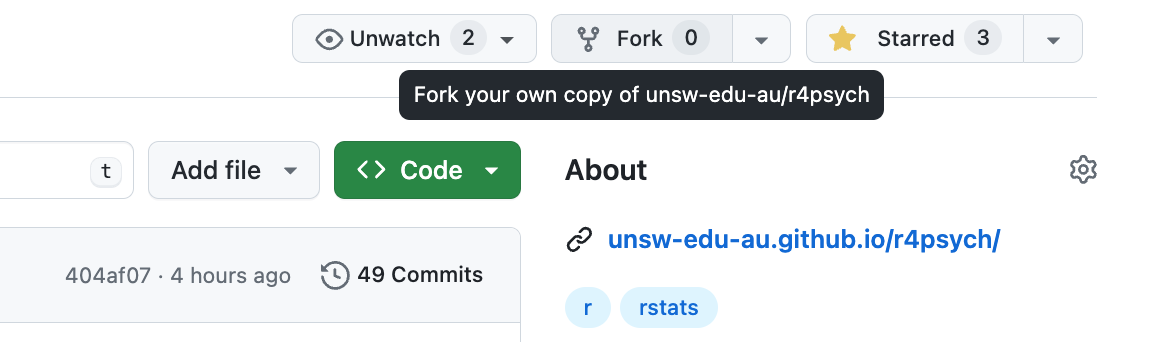
- To create a fork, head over to the remote repo for the book and click on the Fork button on the right hand side of the webpage
- Continue to the next webpage and leave the default settings as they are and click the green button Create fork
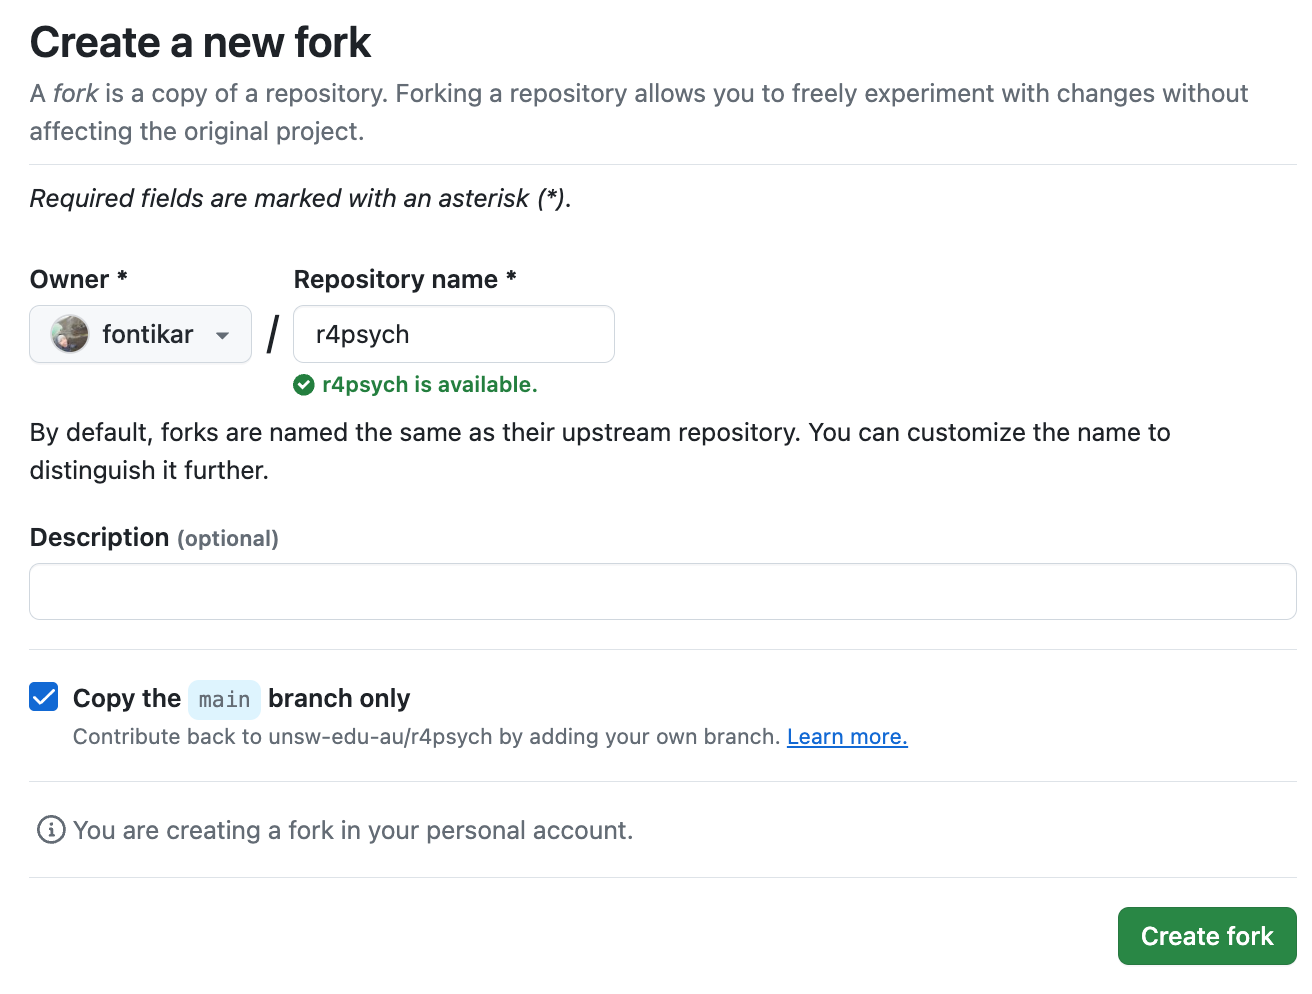
Forking will create a duplicate of the r4psych book remote repo into your account. This is your remote copy that you can make your contributions to. We will talk about how we bring your contributions back to the r4psych remote repo later in Create a pull request.
9.0.3.2 Clone: Create a local copy of your fork
Once you have a fork, we will get a local copy of the book onto your computer by “cloning” the forked repository.
Head to the webpage of your forked repository. The URL for it should look something like: https://github.com/your-usename/r4psych
Click on the big green button that says Code
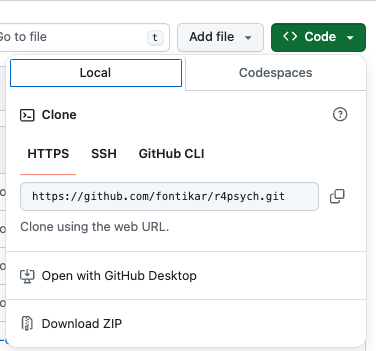
Here you will find a drop-down menu showing different methods of cloning the code from the remote repo.
We will stick with the default option of using HTTPS a.k.a. cloning by using the URL of the remote repo.
Click on the copy URL button (The stacked squares icon)
Navigate to Github Desktop and click on the first drop down menu from the left. Here you will find the Add button.
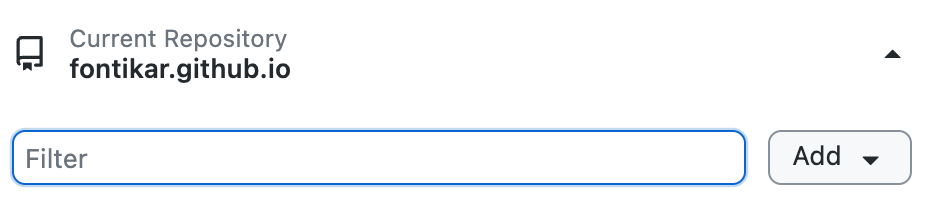
Click on Add and then Clone Repository
Click on the URL option and paste in the URL of your fork’s remote repo e.g. https://github.com/your-username/r4psych
Under Local Path, you can choose where you want to place this cloned repo. Avoid putting your repos in Cloud services such as Dropbox or Google Drive. These can sometimes interfere with git’s ability to track your changes.
Finally, click Clone and let git do the work! It will copy everything that is in the remote repo and bring it down locally on your computer!
Navigate to the local path where you told git to clone to in Step 7 and check out the directories. You will learn more about these in Book Structure